Monday 29 July 2013

Printable Paper Bead Sheet Set 5


Would you like to make your own paper beads knowing that you can repeat them over and over again...

This bead sheet has been designed by me, I have used several programs to achive a beautiful design pattern then I have printed and tested the sheet by making up a set of beads using the sheet.


You can purchase this bead sheet from my Etsy shop HERE 

Printable Paper Bead Sheet Set 4


Would you like to make your own paper beads knowing that you can repeat them over and over again...

This bead sheet has been designed by me, I have used several programs to achive a beautiful design pattern then I have printed and tested the sheet by making up a set of beads using the sheet.


You can purchase this bead sheet from my Etsy shop HERE 

Printable Paper Bead Sheet Set 3


Would you like to make your own paper beads knowing that you can repeat them over and over again...

This bead sheet has been designed by me, I have used several programs to achive a beautiful design pattern then I have printed and tested the sheet by making up a set of beads using the sheet.


You can purchase this bead sheet from my Etsy shop HERE

Printable Paper Bead Sheet Set 2


 Would you like to make your own paper beads knowing that you can repeat them over and over again...

This bead sheet has been designed by me, I have used several programs to achive a beautiful design pattern then I have printed and tested the sheet by making up a set of beads using the sheet.


You can purchase this bead sheet from my Etsy shop HERE


Sunday 28 July 2013

Sealing and coating beads

I have done a lot of testing over the last few days and I now know what I find the best for me, you will find your own way and it will be different to me I'm sure...

I've tried both PVA glue and a glue stick to stick the ends when rolling, but I've gone back to the PVA glue as I find it better.

I tried both dipping my beads and brushing the glaze on. 

Dipping:- At first I found dipping very time consuming, but I think I've now got a method that works for me.  I first put my beads on sticks and give them a coat of PVA all over to seal and smooth, then I stand them in a florist block to dry.

When they are completely dry I string the beads on very cheap plastic fishing line, note: I did try adding glass beads in between each paper bead to stop them sticking together, well that didn't work for me the paper beads stuck to the glass beads, so now I don't use them. I then dip my beads in Barniz Brillante which I think is gloss varnish, it depends on how shinny I want my beads on how many coats I do, but mainly between 3 and 5 coat. I had an old clothes airer which is no longer good enough for hanging clothes on, so I put it outside and I peg the strands of beads on that to dry.

About half an hour after I have dipped my beads I turn them over and peg them the other way up, but first I twist all the beads to make sure that they have not stuck.

Brushing:-  I did at first prefer this method, but now I have my bead rolling tool and the hole size is bigger than a toothpick, I really do think that the inside of the bead needs sealing and the only way to do that is to dip them.  I have found that it is very easy to get glaze on the sticks when brushing and then it is near on impossible to get the little devils off.

So I dip mine.......

Thursday 25 July 2013

Blue Necklace

I made this necklace using my Digital Paper Bead Sheet Set 1, I teamed it with blue crystal and silver spacer beads.

A bit of a tidy

I have loads of ideas in my head, but I really need to tidy my bead tray...

I will be making some more bead sheets later, but I have that many bits of paper ready to cut and make into beads I really do need to get those out of the way first.

My new bead roller arrived yesterday, well it's made so much difference to rolling the beads, my fingers and thumbs don't hurt anymore.  You can purchase one from Just Jenn Designz HERE


I have been testing which is the best way for me to seal and varnish my beads, I've tried so many different ways.  I use to use PVA glue to stick the ends of my beads when rolling, but I've change to a glue stick, it's a lot easier and cleaner and probably cheaper.  I then use the PVA glue to smooth out all the little edges on the bead before coating with varnish, this has made the beads more glass like.  The jury is still out on which coating to use to get a lovely gloss, I do like anita's 3d embossing gloss but it's gone a bit gluppy in the heat making it difficult to apply, so I am at this moment in time testing a product which I purchased here in Spain, it's a varnish but a little bit like PVA glue but not!!!!, I've dipped some of my beads and hung them out to dry, I will let you know what I think later.

Wednesday 24 July 2013

Printable Paper Bead Sheet Set 1


Would you like to make your own paper beads knowing that you can repeat them over and over again...

This bead sheet has been designed by me, I have used several programs to achive a beautiful design pattern then I have printed and tested the sheet by making up a set of beads using the sheet.


You can purchase this bead sheet from my Etsy shop HERE

Tuesday 23 July 2013

Foxglove

10 Paper Beads
Each paper bead takes days to make it is individual rolled and then put through various stages to seal and varnish it to make it hard wearing and water resistant.

The beads are water resistant, they are not water proof.
Each bead measures approx. 2cm x 1cm at the widest point.

Fractal Design


10 Paper Beads
Each paper bead takes days to make it is individual rolled and then put through various stages to seal and varnish it to make it hard wearing and water resistant.

The beads are water resistant, they are not water proof.
Each bead measures approx. 2cm x 1cm at the widest point.

Pink Ripple

10 Paper Beads

Each paper bead takes days to make it is individual rolled and then put through various stages to seal and varnish it to make it hard wearing and water resistant.

The beads are water resistant, they are not water proof.
Each bead measures approx. 2cm x 1cm at the widest point.

Friday 19 July 2013

Zebra Print Earrings


Blue Earrings


Leopard Print Necklace


Decant your sealant

I alway decant my sealant and glaze into nail polish bottles, these are great as you don't have to clean the brushes out between uses.

Clean an old nail polish bottle with nail polish remover, make sure you clean the bottle and the brush.  Wash the bottle and brush and make sure that there is no residue left then dry thoroughly, then simply decant your selant.

I use 2 bottles one contains my 'Barniz brillante' which is like watered down pva glue, I use a few coats of that, in the other bottle I have 'Anita's 3-D clear gloss finish, I use that as a finishing coat.

Keep papers tidy

If your into a cutting day instead of a rolling day (I sometimes am) keep your papers of the same shape together using a bull dog clip or a clothes peg, or if your paper strips are just long straight pieces wrap a piece of paper around them at 1/4 and 3/4 length of the strip and hold with glue

Drying stand out of a pool noodle

This is great idea for making a stand for drying your beads....
Cut a piece off a pool noodle and glue it into a cap of a bottle, when it's gone passed it's life turn over and use the other side, when that's passed it's life then just cut another piece and start again.  One pool noodle will last for ages.

Fat Beads

I can't remember where I found this little tip, but it's somewhere out there on the web...
I thought that I would share it with you....
To make fatter beads roll your bead using 4 papers at once, it's a little fiddly but it's worth it, then when you are about 1 1/2" from the end cut off the end of all but the top paper and glue it in place.

There you have it one fat bead.

Sunday 14 July 2013

New Drying Stand

When I first started making paper beads I used a florist's block

 Well that was fine as they were cheap and replacable, but not that good looking.
I have purchased some air dry clay, to make some beads with and wasn't getting on very well with it, until I had the idea of making myself a permenant stand out of it.  I shaped it with one of those round silver cutters and using my toothpicks made holes in it.
 I did have problems with the 1st one I made as the holes were too big and the toothpicks wouldn't stand up right, but I just rubed some more clay onto it and made the holes smaller, when it was completely dry I sanded it and painted it using acrylic paint.  Now I have a very durable stand, I made another one too as I wanted to have one for the 1st coat and one for the 2nd coat.

This History of Paper Beads

Women as far back as Victorian England in the late 1800s were making paper beads as a constructive way to pass the time.  It’s said that these beads were often strung into long strands of yarn and used as room separators.  Currently, making rolled paper beads using recycled paper is popular in places like Uganda where women make beautiful beads that are purchased under fair trade agreements and sold around the world.  This helps women in those areas generate an income for themselves and their families.
Paper beads are a popular craft form nowadays.  It’s a fun and rewarding art form both for children and adults, requiring very little materials, supplies, and money to get started.
There are quite a few artists who enjoy making paper beads and selling their creations on Etsy and other marketplaces.  Many have explored creative and exciting new ways to work with paper beads.

Different shapes of beads

You can make your beads all sorts of shapes and here are just a few that I've made...

This is a tapered bead made using the template shown underneath


This is a fat tapered bead using the template shown underneath
notice how it takes a longer piece of paper, I've made mine so it fits onto an A4 paper
that way I can print out my design on the back

 This one is almost a round bead but it's very small ideal for spacer beads
this takes 2 strips to make the template used is shown underneath

This one is the easest of all to make it's a tube bead
you can make it in different widths or add extra layers to make it fatter
I've shown the template used underneath, but it's just straight strips so no need for the template really.


 I will be added more to the blog as I make them.....


Paper Bead Turotial - using paper bead sheets

Printable sheets can be purchased from HERE

Copyright © 2013 Ester Collins. All rights reserved.


Materials needed / Supplies

1.   Paper
2.   Glue, I use PVA, but you can use a glue-stick
3.   Scissors or craft knife
4.   Ruler
5.   Paper bead roller or Tooth pick
6.   Sealant, you could use acrylic nail polish
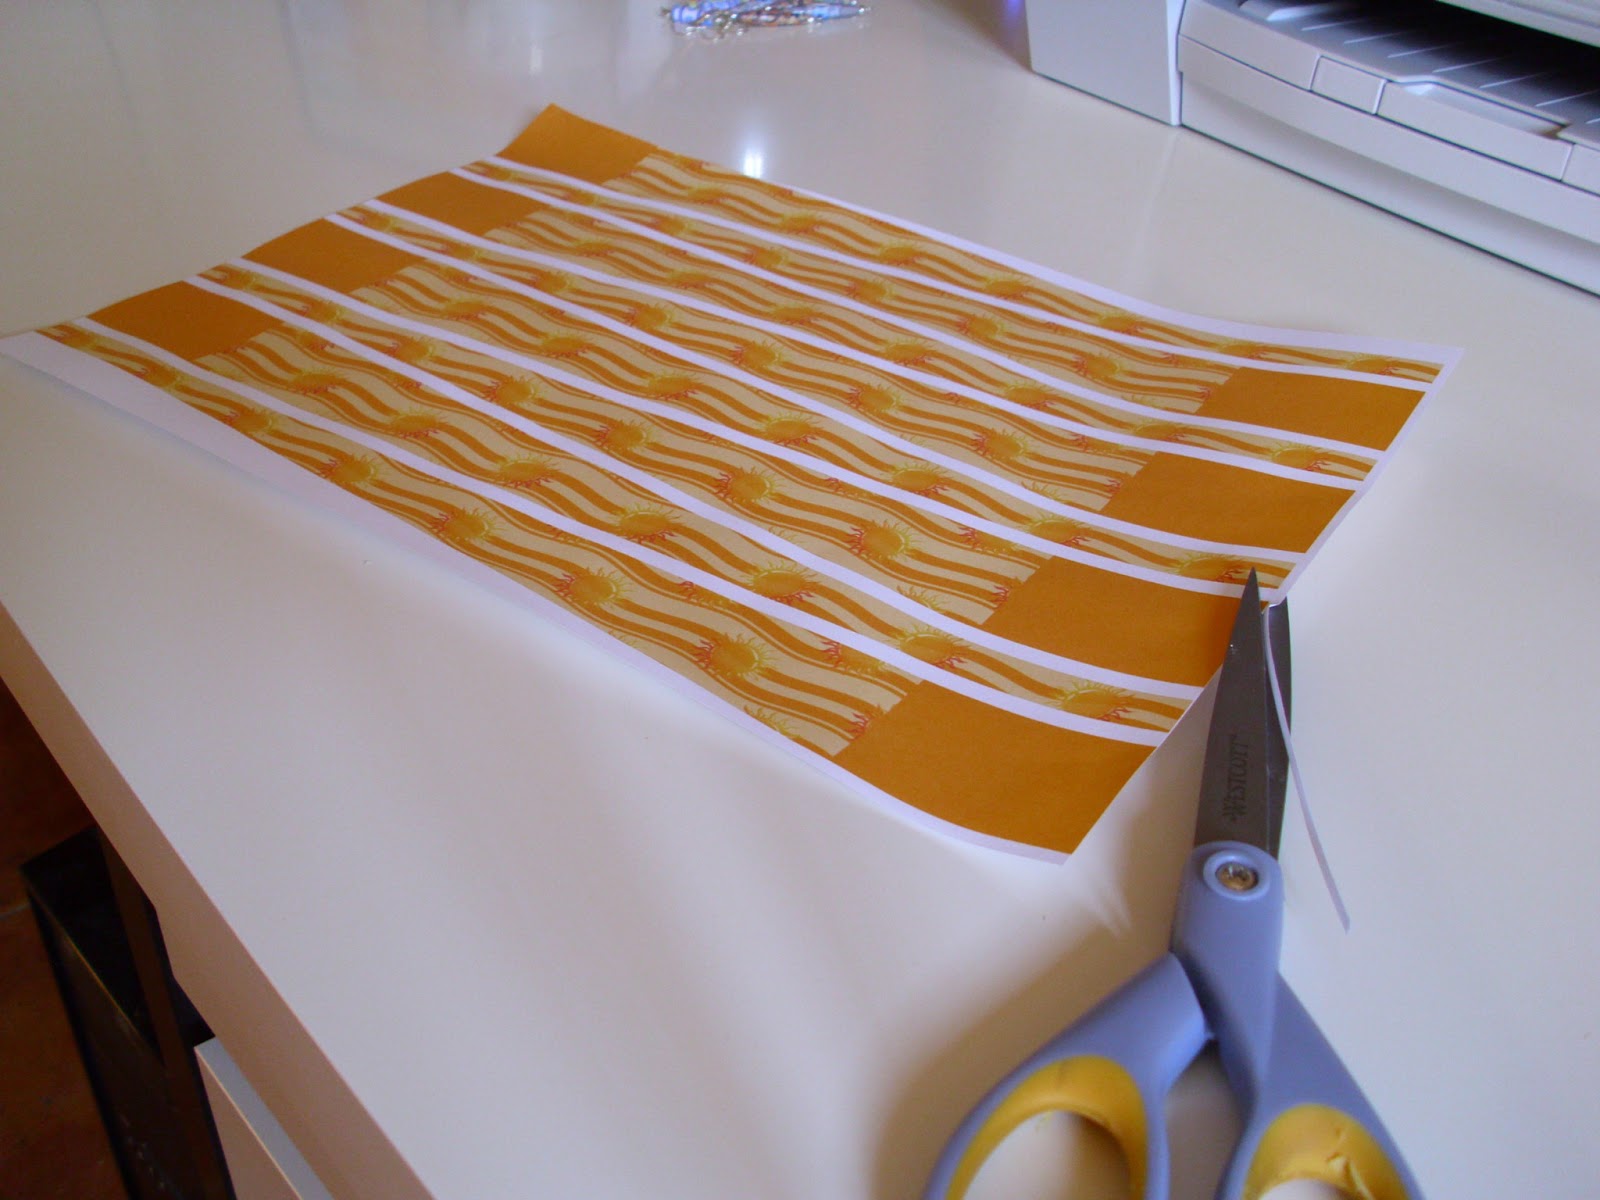

Print

It's best to print out the bead sheet using borderless printing if you printer supports it, but if not cut off the white part down the side of the design.


Cut

Cut out the individual bead strips either using scissors or a craft knife and ruler.
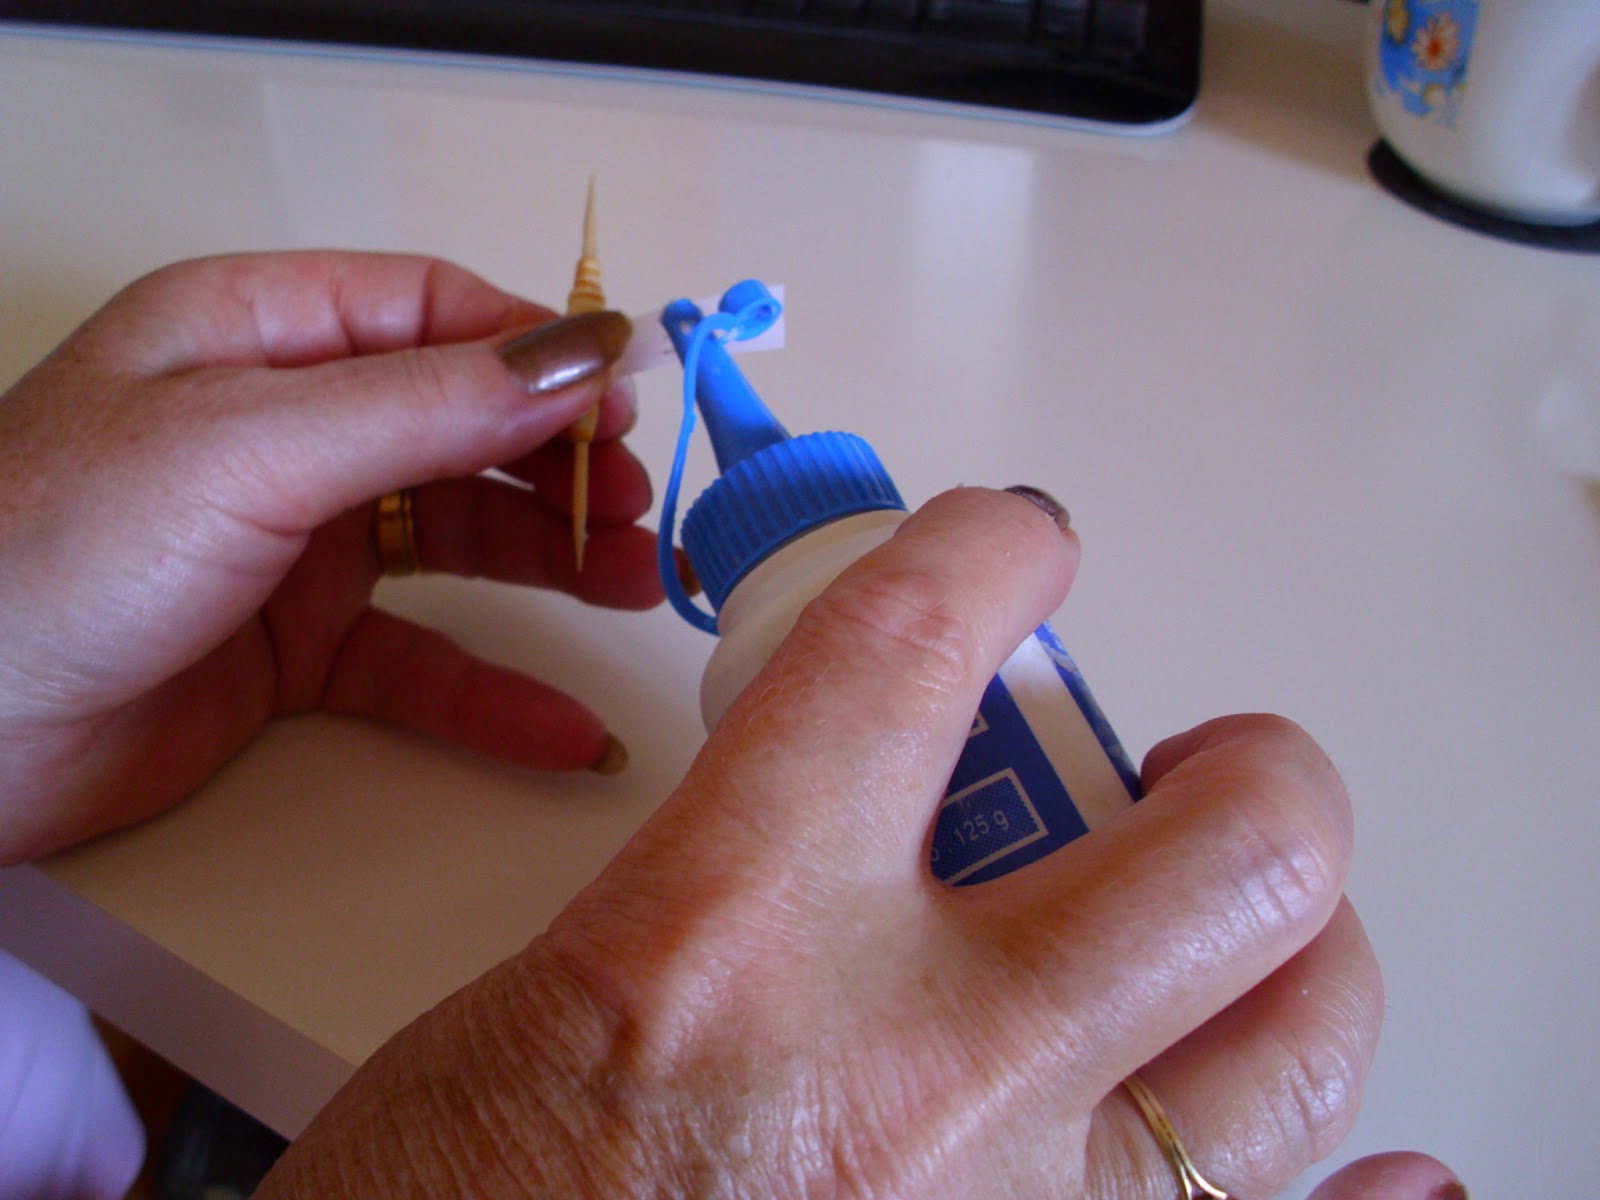
 

Let's get rolling


Now that you have all your pieces ready let's get rolling. Have your paper print side down and starting at the wide end start to roll tightly around your bead roller or toothpick.
As you roll keep you bead even and centered as you roll, roll tightly and try to avoid having spaces between the layers.

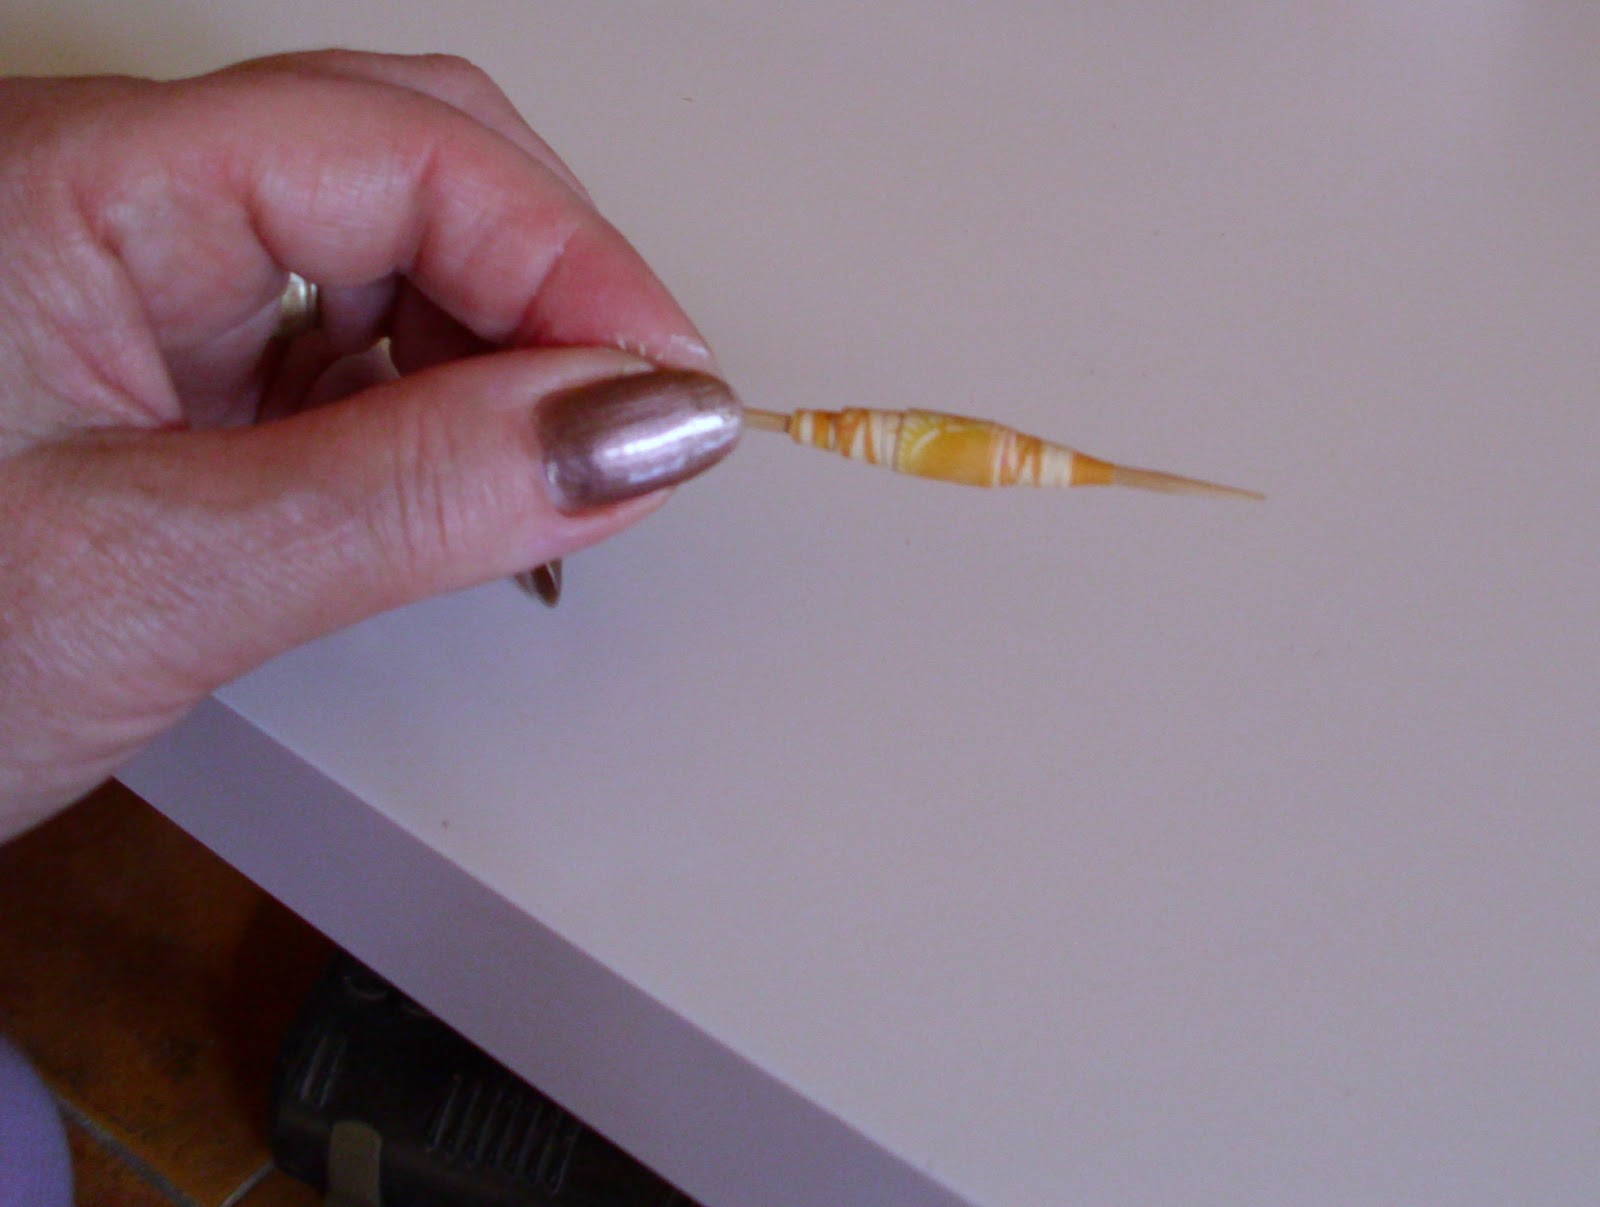
Continue to roll until you get to about the last 1" and glue the tip of the strip to the rolled paper.
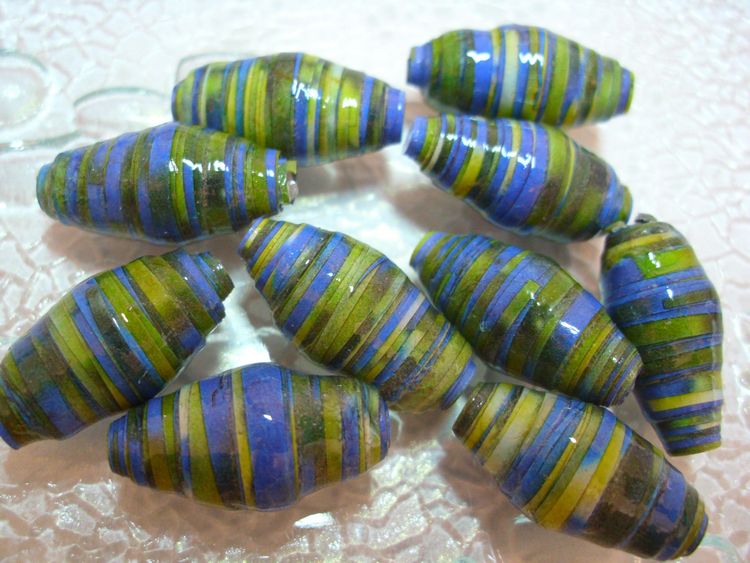
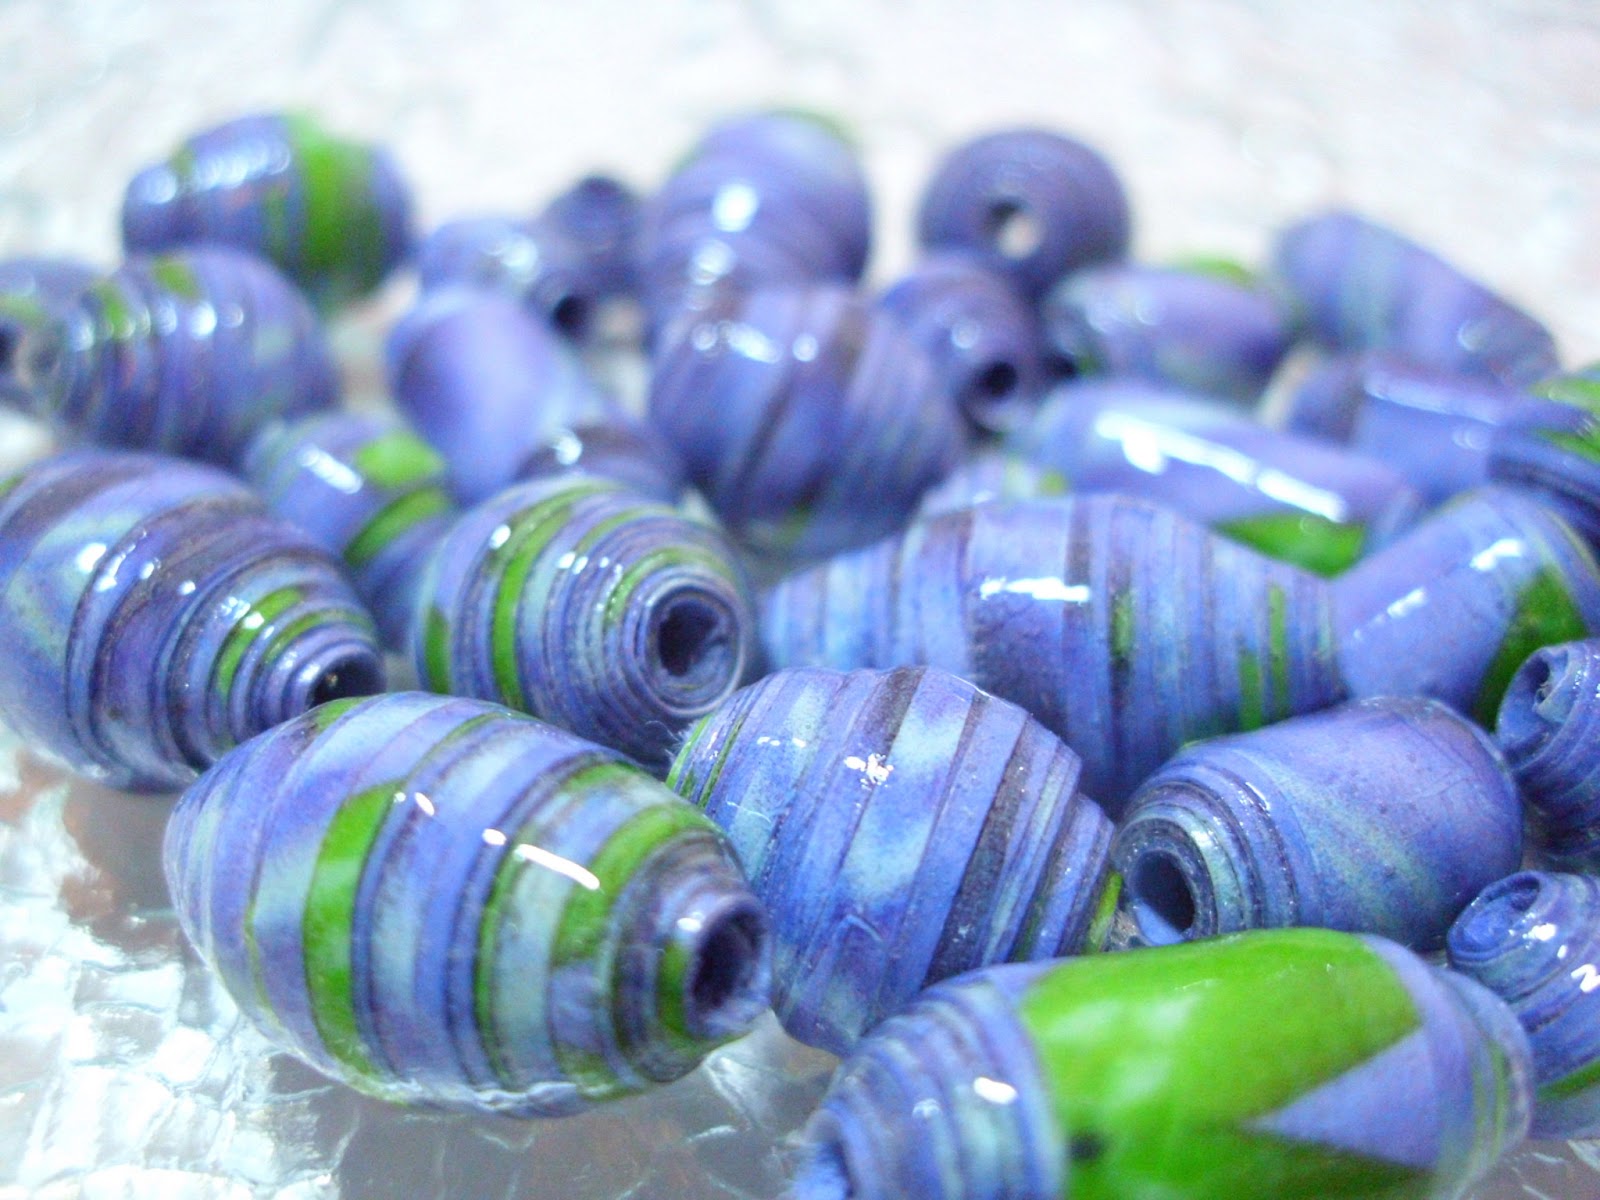
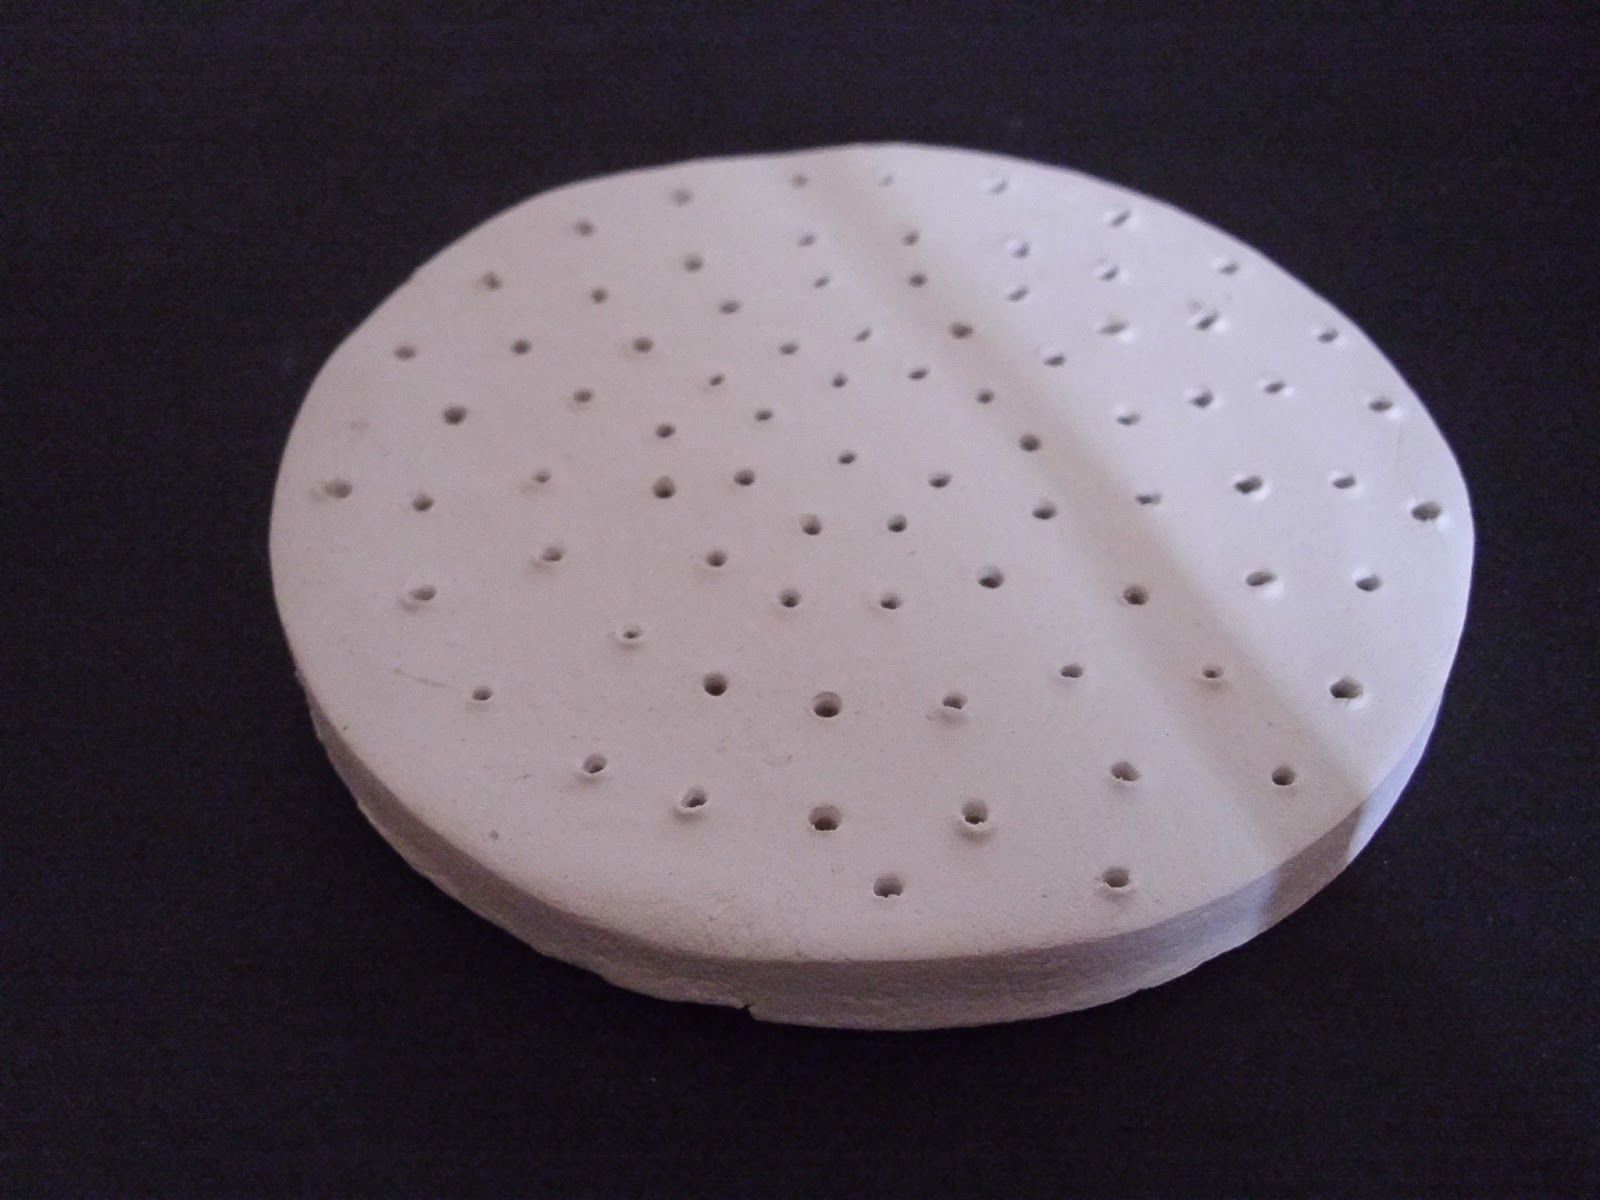


 Sealing Your Beads


Use a glossy sealant like Mod Podge,  Diamond Glaze, or acrylic nail polish, let it dry thoroughly between coats, I give mine 2 coats and put them on toothpicks to dry which I stick into florist foam, or you could use styrofoam.

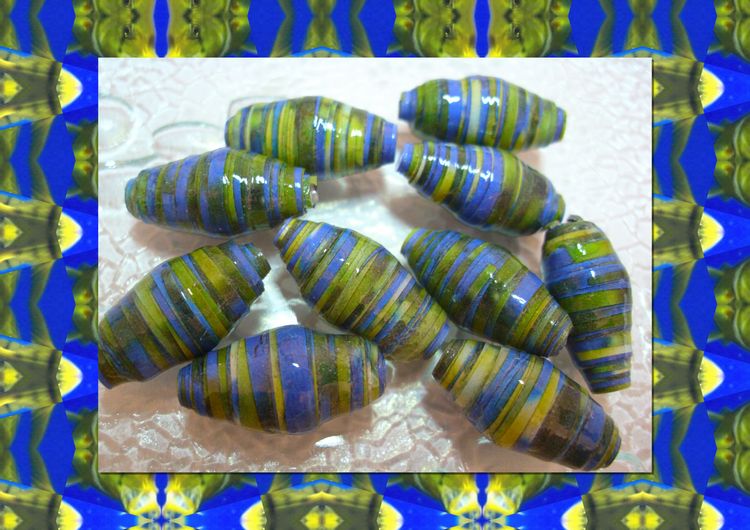
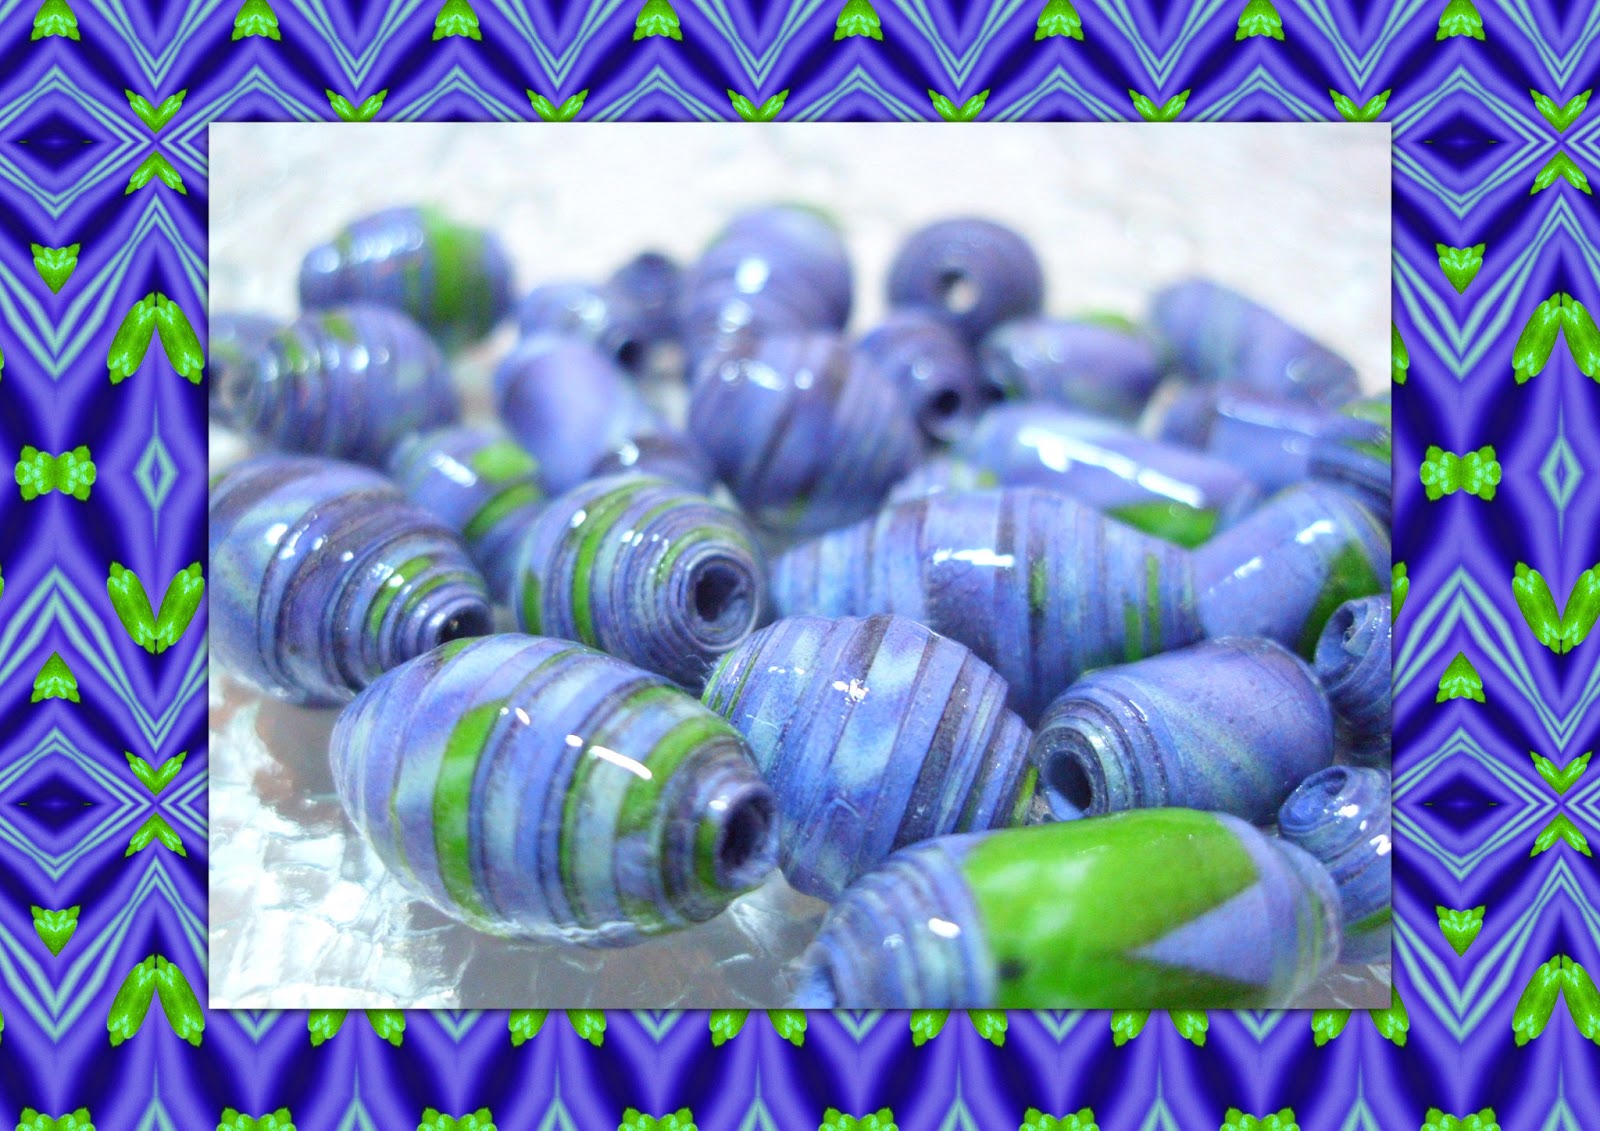
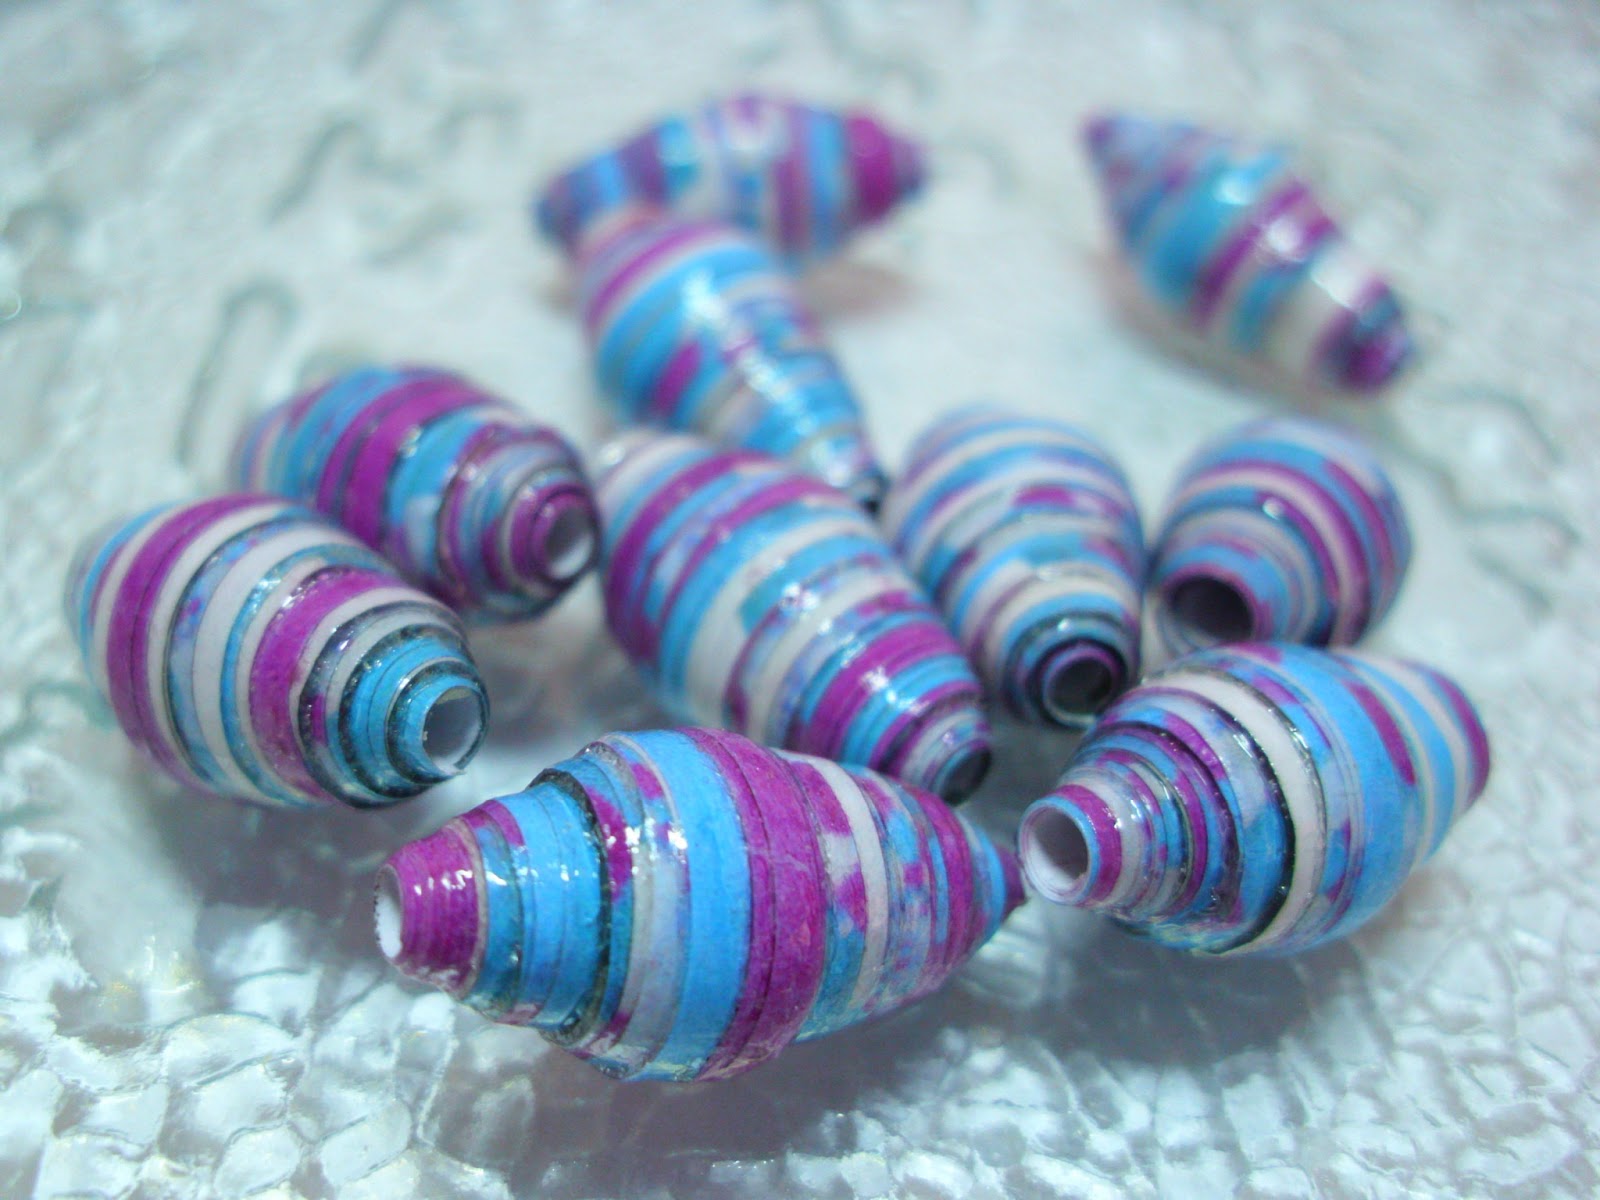
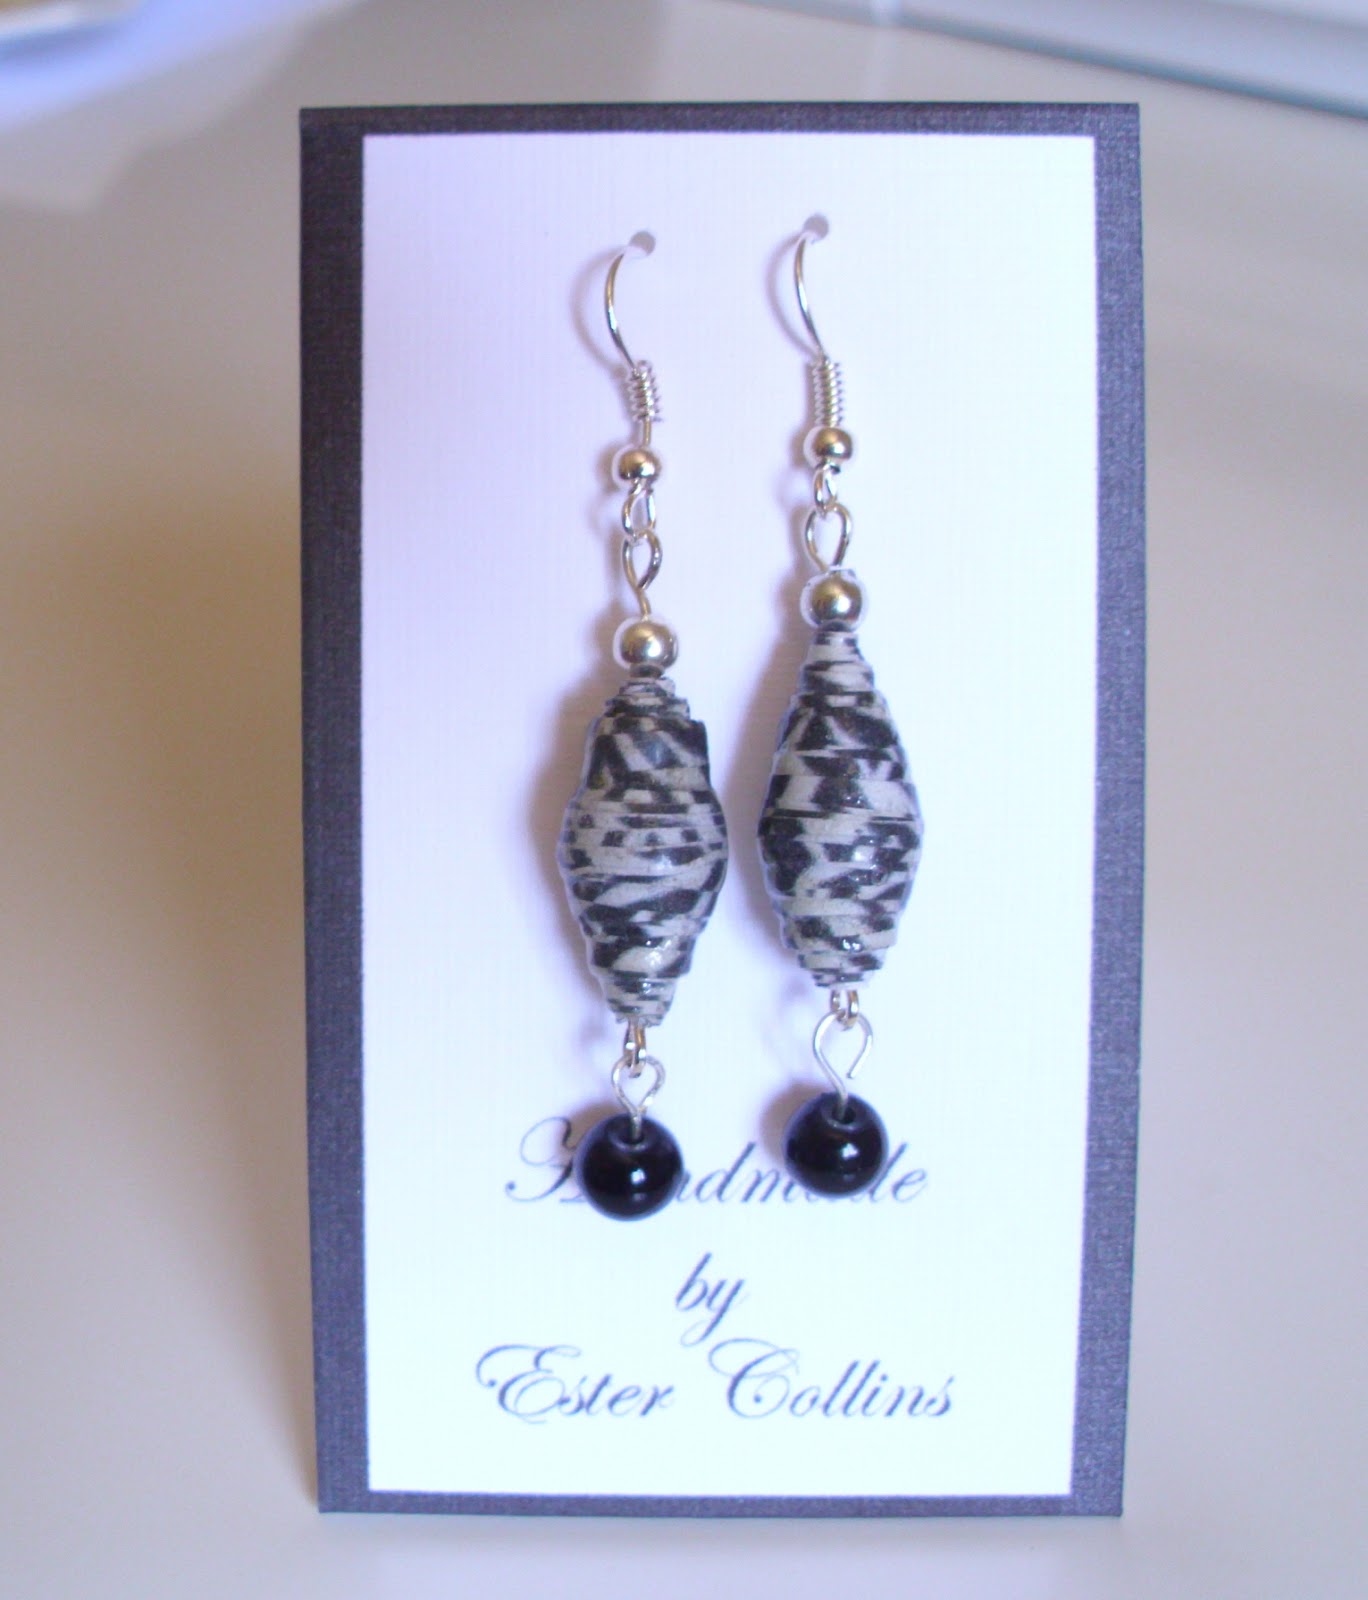
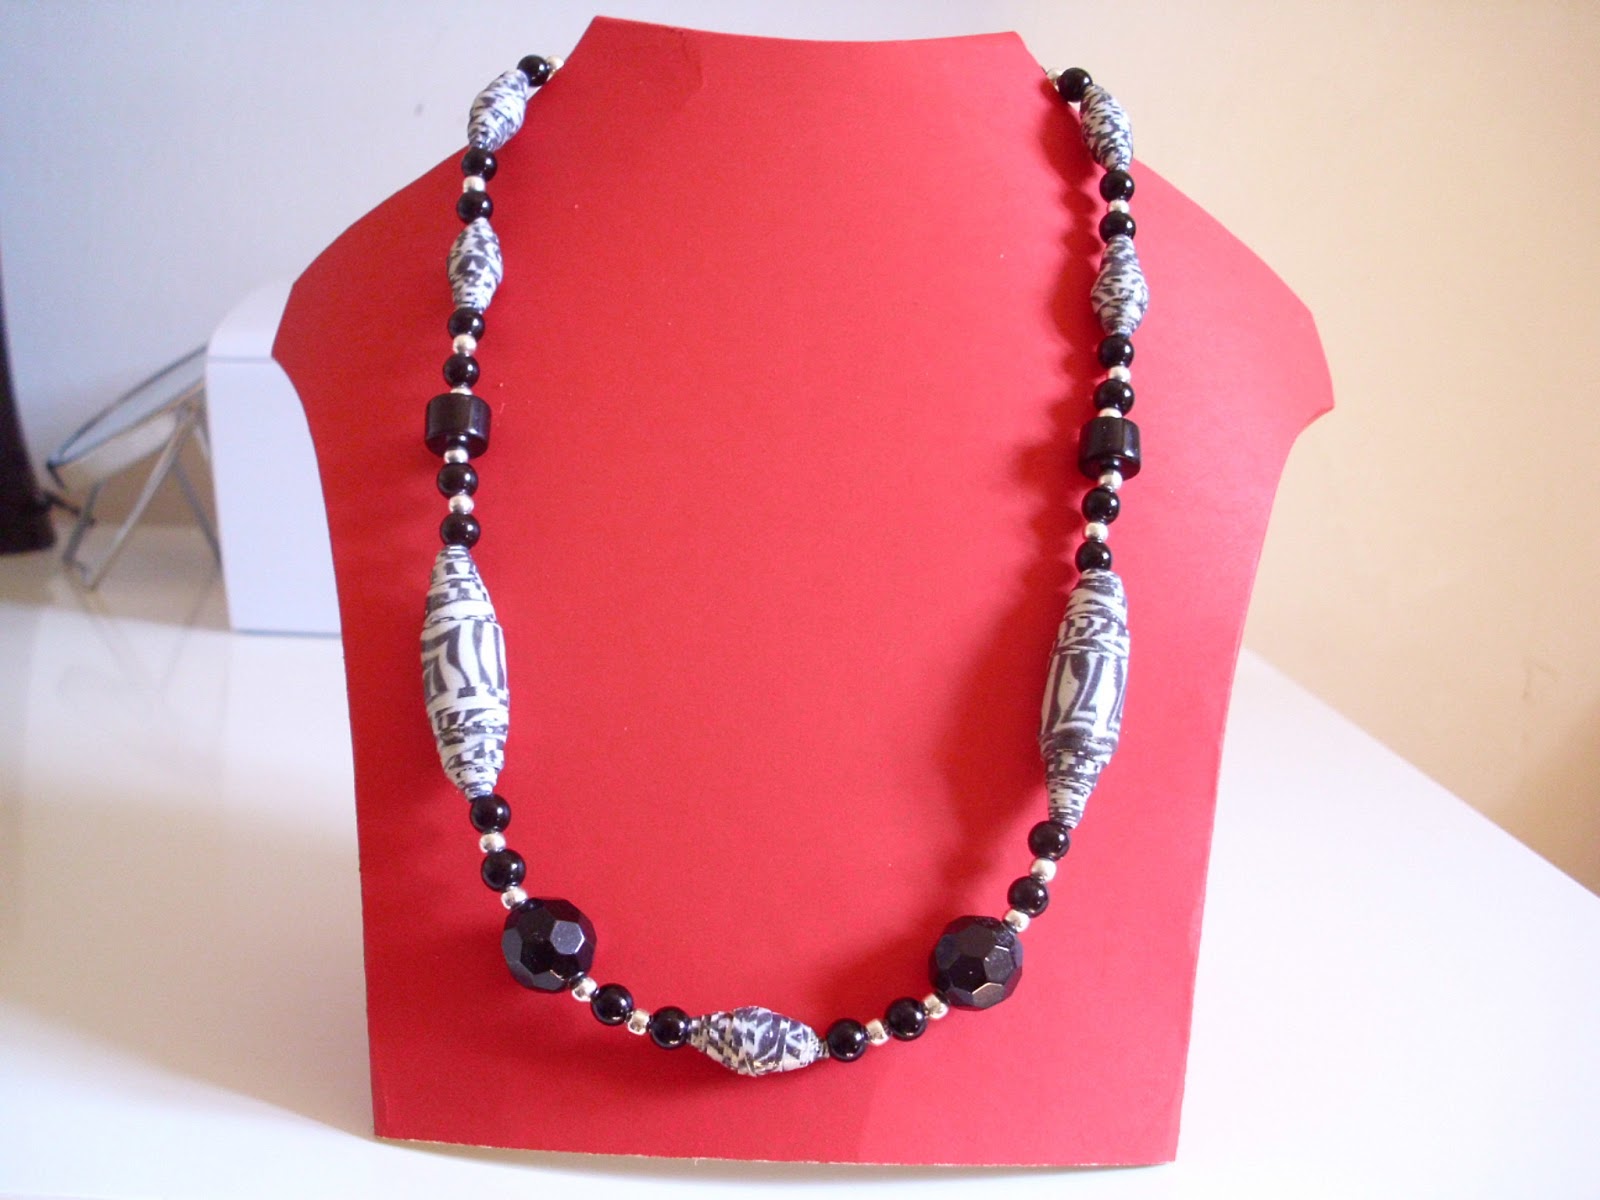
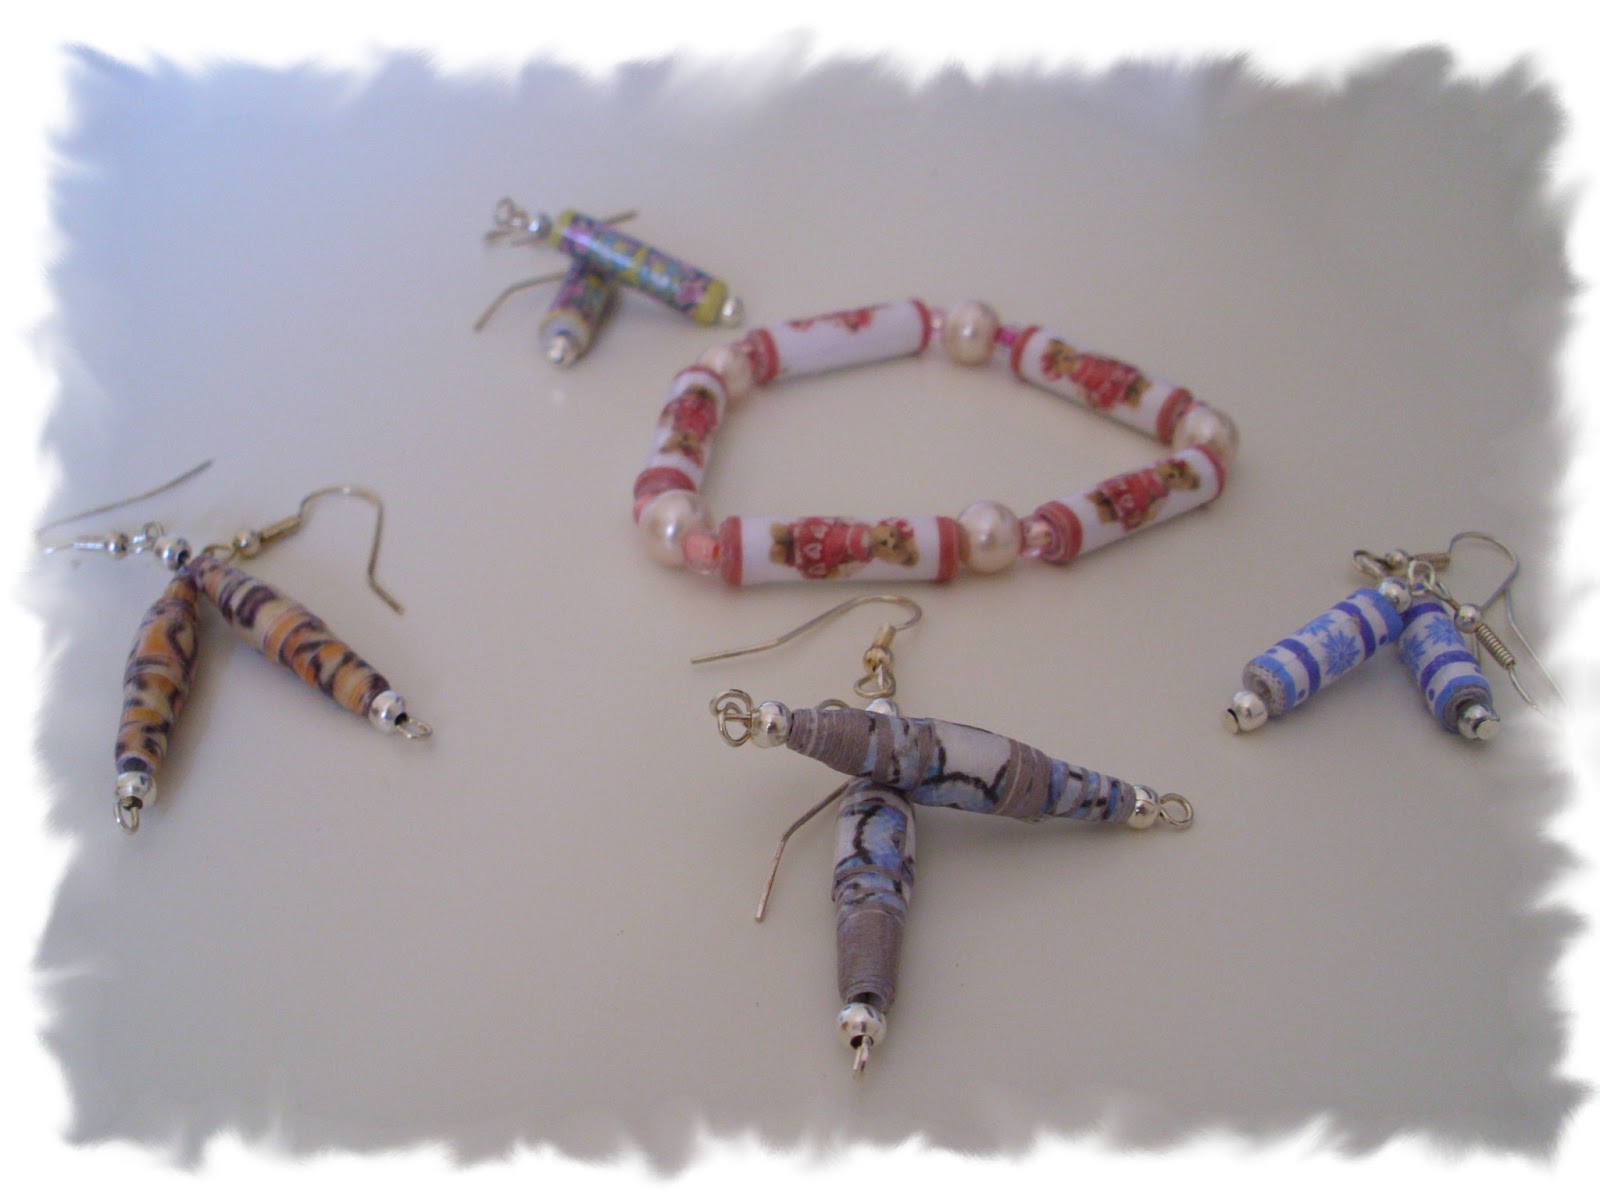
What to do with your finished beads

Now that you have made your beads it's time to make them into beautiful items of jewellery